Wednesday, August 31, 2011

Art Quilts Fused Collage

3 comments

Laura and I have produced another brilliant project with Nancy Zieman from Sewing with Nancy. The work book has just been released – you can order it from Nancy’s Notions. Or if you are going to the Madison Sewing Expo next week it will be available there too, in our booth #835.

Art Quilts- Fusible Collage

nnfl


DSCN0005

I’m ready for my close-up. Filming is always fun, you never know what will come out of your mouth, anyway I don’t.

IMG_0783Laura hates makeup.

IMG_0786

Working with Nancy is always a pleasure.

IMG_0790

Laura can hardly ever keep a straight face.

IMG_0623

The show will air this fall. I hope you all have Sewing with Nancy on your cable channels.

I can’t wait to hear what you think of the show.


Monday, August 29, 2011

Wall art

4 comments
Artist Monday is being dedicated to this fabulous building art in downtown DeKalb IL. I love the imagery and of course the corn. I would love to make a corn quilt someday. So many ideas so little time.
image


Friday, August 26, 2011

Labels on your quilts

2 comments

I like to make sure that I have a good label on all my quilts. I print out my labels on to fused fabric. I leave the release paper on the fabric and cut the label to a crisp 8.5” x 11” and feed it through my ink jet printer. Then I remove the release paper and cut out the label with a decorative blade and fuse the label to the front side of the sleeve I put on the quilt.

I received from C&T in the mail today the new Quilt Label Collective. It contains 150 designs to customize, print and embellish your own labels.

I have an original label included in this DVD. You can get a copy of it for yourself here.

image

This is what my label looks like


Thursday, August 25, 2011

Yummy, yummy green

3 comments

I discovered late in my life that green is my favorite color. This pile of Grass Green is waiting to be ironed and added to new kits for a new pattern.

Here is a hint of the new pattern. There will be three designs in one pattern for you to express your holiday cheer. It will premier at the Madison show in September.

Wednesday, August 24, 2011

Changing a photo in photoshop

1 comments

Yesterday I posted about my quilts of George. And Chay asked me if I had photos of the process. Well no I don’t. I made that quilt YEARS ago. But I can tell you sorta how I made the image and then the process of making the quilt.

I opened a picture of George that I really liked, that had a full face image of him in Photoshop.

Here is a picture of my son’s dog Wrigley, an adorable french bull dog that I will use instead.

2922221880084028643khcUnL_ph

She was the love of my son and daughter in laws life until Micah their son arrived. Such is life.

wrigleywatercolor

I opened up this picture in Photoshop. I selected from the toolbar the effects button and then choose the artist effect. There are multiple chooses in this button and I just played around with each one until I found the effect that I thought would work well. In the current program it will let you play around with all different kinds of filters on the picture and see what it will look like before you choose which one you like. The one above was created with the watercolor effect.

image

I saved the new file with a new name. I wanted the image to be a certain size, so in the image dialog box I changed the dimensions of the picture and saved it again to about 12-14” square.

I wanted to print the image to the new size. Once I opened the print dialog box I had to find in my print options area a place to let me tile the image. On my current printer it is in the print settings dialog box under page layout. I choose poster printing. This will allow the image to print the size that you want to work with. It will tile the image onto how ever many pages it takes to make it the size you have indicated.

image

Once I had the image printed out in tiled pages, I could then tape it back together to form the larger image to work off of. This is a trick I use often to blow up smaller images that I have drawn or pictures that I have taken. I can then use a black sharpie marker to outline each individual shape that I want to make. I place a piece of release paper from the fused fabric over the image and trace on the release paper the shape I want to cut out. I will then place the traced side of the shape against the fused side of my fabric and press with a hot dry iron to transfer the shape to the back of the fused fabric. I let this cool and then cut out my shape.

Once I have all the shapes cut out, I can lay a piece of release paper over the original image and reassemble my fused design. When I cut out the individual shapes I make sure that I leave a bit of overlap where ever pieces are going to layer on on top of or underneath each other.

060

In the case of Georgie Porky I used four to five shades of hand dyed turquoise cotton sateen and white cotton fabrics to create George’s face. Once I finished the face and started auditioning it on background fabrics I realized it needed a shadow line around the face outline. I placed a dark purple shadow fabric underneath the face to give it more depth, and cut it out about an 1/8” of an inch larger.

I fused it to the background fabric and cut that background out with a pinking decorative blade in my rotary cutter. If you keep your decorative blades in their own handle you will use them more often.image

From there  I started auditioning it on border fabric. The border fabric is a piece of silk multi colored Carmeuse.

Tuesday, August 23, 2011

Georgie Porgy Puddin in Pie

5 comments
As many of you know I am crazy in love with my dog. I just returned from teaching in Kalamazoo MI and the question came up again; are there any "George"quilts. And the answer is YES there are.


As of right now there are three. My friend Judy Coates Perez  made a small ornament quilt for me one year for Christmas and I treasure it. It hangs year round in my kitchen.


The first one I made is called Georgie Porgy Puddin in Pie and is made of cotton sateen and silk. It is about 24" square.

The latest George quilt is a pattern available in my book Fabric to Dye For and is called Daily Walk.


I am thinking of a new one. We'll see how long it takes me to make it.


Monday, August 22, 2011

Artist Village

1 comments

artvillageshadow3

Kathy York invited fiber artist that she knew to participate in creating an artist village.

The idea behind it, I think, was that each of us would make a house that reflects our style of quilting as well as making a house we would like to actually live in.

If you are going to Houston this year you will be able to view the whole village.

Here is a picture of what you will see. As a reference. My little house is the one sitting in the back under the tree. It measures 12” tall.

Thursday, August 18, 2011

Fused binding

3 comments

Here are a few pictures up close and personal of the top stitched fused binding.

IMG_1565This is the edge of my quilt “Star Lillies” and is top stitched with #30 weight rayon thread.

IMG_1566

The thread that I top stitched this quilt with is Laura’s #8 cotton and is put in the bobbin. When I put this in the bobbin I hand wind it on the bobbin and by pass the tension in the bobbin case, using a matching thread of lighter weight cotton on the top and sew from the back side. The heavier weight thread sits on the surface of the quilt and looks kinda loopy, like me.

Wednesday, August 17, 2011

A fused binding

1 comments

I think it is always a good idea to review information. I have been thinking about putting up directions to make a fused binding for awhile now and this seems like as good a time as any.

Most of my fused art quilts have this kind of binding. It is easy to do and really fast and it allows you to use those great decorative rotary blades in your rotary cutter to create one edge of the binding. It also allows you to use scraps of fused fabric if you want.

First square up your quilt

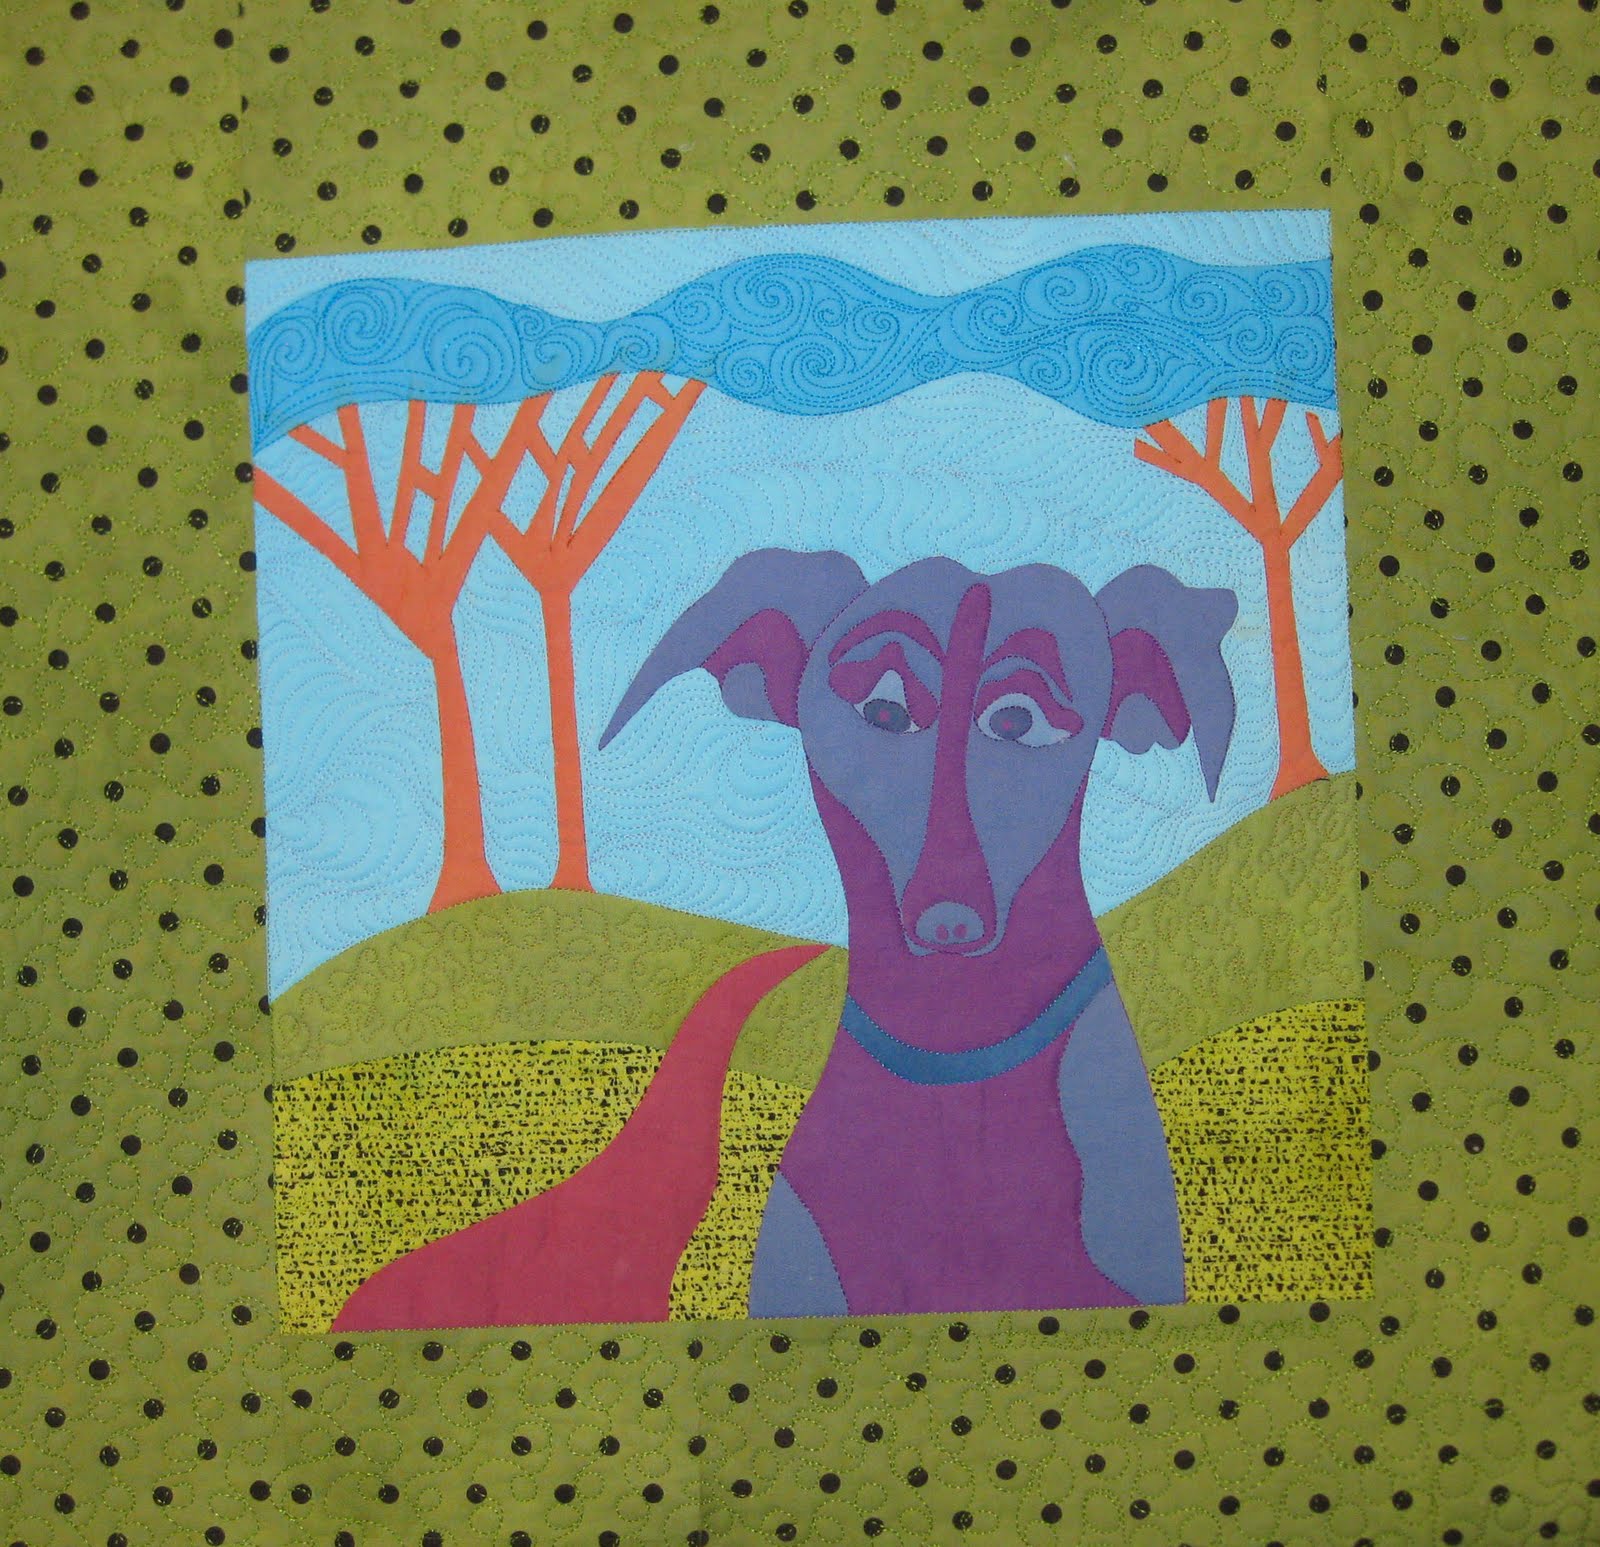
This is just a sample for my machine quilting class using different quilting designs.

IMG_1554

Next you want to mark a 1/2” line all around the outside of your squared up quilt. I usually do this with a chalk pencil, but in a color I can see well. This will be a guide for you to lay down the binding you are going to cut.

Before you put the binding on you want to add a sleeve to the back of the quilt. I fuse my label to the center of my sleeve and stitch it down, it seems like a good place to put it.

image

I sew the sleeve onto the top back with a 1/4” seam.

Cut out four strips of fused fabric that are 1 1/4” wide and at least 1 inch longer then the longest side of my quilt.

image

I use a straight blade and a decorative blade both in separate rotary handles to cut out the binding strips one right after the other in a row. When you are cutting with the decorative blades you want to turn your rotary mat over to the back side because these blades can scar your cutting mat. I keep all of my decorative blades in their own rotary handles that way they are ready to be used all the time. My favorite handle is this Frieda green one from Clover.

image

Once I have all the binding pieces cut out I place my quilt on my ironing surface with a piece of release paper under the edge of the quilt to begin the binding process. Release paper is the paper that comes off when you apply the fusible wonderunder #805 to the back of your fabric or if that rips a piece of parchment paper.

IMG_1555

You will lay your binding right over the pencil line so that the decorative edge just covers the pencil line. Fuse it in place using a dry hot iron – no steam yet. The release paper will allow you to fuse to it over and over again.

IMG_1556

Once the fusing has cooled to the touch you can peel the binding off of the release paper and fold it over to the back side of your quilt and fuse it in place.

IMG_1558IMG_1559

You will do two parallel sides first. Square up the edges of the two sides after they are fused down. IMG_1560

Then do the other two sides.

When you do the last two sides you will have a 1/2 inch over hang on each end that will be folded over to the back at the corner of the quilt. Crease this in place with your finger nail. Place a piece of fusible web on both of the folded over corners and then fold up the long side of the fused binding. Press this in place. This will create a nice clean encased corner on your fused binding.

IMG_1562

IMG_1563


IMG_1564

I usually like to top stitch on the front side of my quilt with a heavier thread to finish the binding. I will steam set my whole quilt and binding at this point.

Easy Peasy. I hope you try this method for your next wall quilt.

Monday, August 15, 2011

Sign up for classes at Quilt Expo

1 comments
I will be teaching again this year at the Madison Quilt Expo, September 8-10. I am teaching Frieda’s Free Motion Machine Quilting classes again. If you missed it last year here is your chance to sign up and become more comfortable at your sewing machine doing free motion quilting.
You will learn how to do free motion machine quilting with the feed dogs down. You will learn how to be in control (is that even possible). It is fun, easy and rewarding. I hope to see you there If not in class then in the booth.
 IMG_0275
IMG_1762
Laura and I will have our gorgeous hand dyed fabrics, in cotton, silk fabric, silk/rayon velvet, silk batiste, and cheesecloth. We will also have hand dyed threads in cotton and silk ribbon.
There will be plenty of great patterns to choose from too, we both have several “new” patterns for you to droll over. We are the “colorful” booth #835

Friday, August 12, 2011

60th Birthday–my sister

2 comments
My only sibling and sister turned 60 on Saturday. It really seems like a big deal because I am not that far behind.  My husband turned 60 last year, but it didn’t seem like such a thing, only because he isn’t related to me by blood and well he is 4 years older than me and always will be. My sister however has been in my life since I began and everything that happens to her eventually happens to me. 
I am currently at my kids house grandbaby sitting.  My husband was here with me for the weekend but he has gone home now.  Our daughter-in-laws sister got married this weekend and all of her family and relatives were involved in the wedding so we HAD to come here to watch the grandboy. It is great, I get whole days alone with him. Woo woo. I am loving it. I am working on his first Halloween costume,  he is going to be a little white and black dog. He has a little french bulldog in his family, so it seems perfect. The kids live in PA and we will be driving to Boston to help my sister celebrate this coming  weekend.
I have many gifts for my only sibling, a pair  hand kit socks made from Sophie’s Toe Sock yarn in lavender, a pair of great earrings from my friend Sandy of  OF NATURE and a small wall quilt to match the colors of her bedroom. She  never reads my blog so I will post a picture for you here.

I have been walking around this little lake by my house everyday with George and there are cat tails growing along the banks, so of course I had to start making Cat Tail quilts. I am loving them and the color is perfect for my sister’s bd, her room is green and purple.
IMG_1232
This little quilt is about 4” wide  by 12” and is trimmed with my hand dyed 4mm silk ribbon then sewn to a peltex frame that has fabric fused on both sides and then cut out with a decorative rotary blade.
It is just wonderful.

Thursday, August 11, 2011

Thankful Thursday

1 comments
As I said yesterday, as part of thankful Thursday I am giving away a free bag of hand dyed fabric. And the winner is :Diane. Yea :Diane!! Send my your address off line and I will mail out bag of goodies. frieda@friestyle.com

I am truly thankful today for so many gifts that life has given me, but today I am must thankful to be here with my darling grandson. It has been an unsurpassed joy to take care of him for four full days. I feel like I know who he is now not just that cute little kid who lives across the nation. I will always treasures these days.

:Diane when you get this bag of fabric and you do something with it, I hope you will send a picture and share it with the rest of us.

Wednesday, August 10, 2011

It’s great to be a Grandma

22 comments

I am currently in PA babysitting my one and only grandbaby!!! It is fabulous, I am loving it, I can’t believe how wonderful he is. My husband and I don’t live close so I don’t get to spend extended time with him, or see him change every day. I am just so happy to be here and wake up with him and change him and feed him and bathe him and get spit up on and even peed on. Only a grandma would like that.

However I have a dilemma I hope you all will help me with. As part of Thankful Thursday day which is tomorrow I will send my favorite response to this question a zip lock bag full of hand dyed scrap fabric. Some of it is just fabric pieces and some of it is fused scrap fabric. I usually sell these bags in my booth, but for you I will mail it off for you to play with. You will love it.

So here is my problem, I have been calling myself Grammy. My mom is Grammy to my kids and I really don’t want to be called Grammy, but I don’t want to be grandma either. I need your thoughts on this and some fabulous name for this precious perfect guy to call and think of me.  So let’s have it, your best suggestions.


image

Monday, August 8, 2011

and the winner is....

2 comments
Lesley's number came up on Random numbers dot com. Yea Lesley .
I will send you a spool of yellow #30 weight rayon for you to play with. I know you will like it. It is my favorite thread to work with. I use a size 90 embroidery needle when I machine quilt with it and I use Aurifil cotton thread in the bobbin in the same color.

Artist Monday Stephanie Nordlin

1 comments
Featured Artist Stephanie Nordlin is a self-confessed “Fabric-aholic” with an impressive portfolio of award-winning quilts and wearables. See more of her work by visiting her website.

Stephanie writes; I am currently working on the Reconstructive SergerE  line of one-of-a-kind jackets for fall runway/boutique sales. My Blank Slate Jacket pattern is the basis of the designs, and is available for sale. I add yummy ribbon, buttons, beads and embroidery to make each one special. I like using Laura Wasilowski's hand dyed perle cotton to coordinate with the various repurposed fabrics used in the jackets. This one has snow dyed silk/rayon velvet sleeves.

I recently saw India Flint lecture at the Surface Design Associates convention in Minneapolis on her Eco Color dyeing and was bitten by the bug. My eyes are always searching for plants along the roadway and in the yard to use. I just made my first bundles and steamed them, but according to her book I should wait to see the outcome...the longer the better. We'll see how long I can stand it! I've used false indigo, weeping willow, geranium, purple leaf sand cherry and rose leaves to start.

Stephanie Nordlin
Stephanie Nordlin Design

www.stephanienordlin.com

http://twitter.com/SNordlinDesign

DSCN2455DSCN2457DSCN2460

A 2002 graduate of Fashion Design from Harper College in Palatine, Illinois, she studied various embellishment techniques which she uses in her award winning garments.

Her newest garment, “Black Ice“ has been accepted by  IQA  for the Houston show.

Black Ice front

Print this page